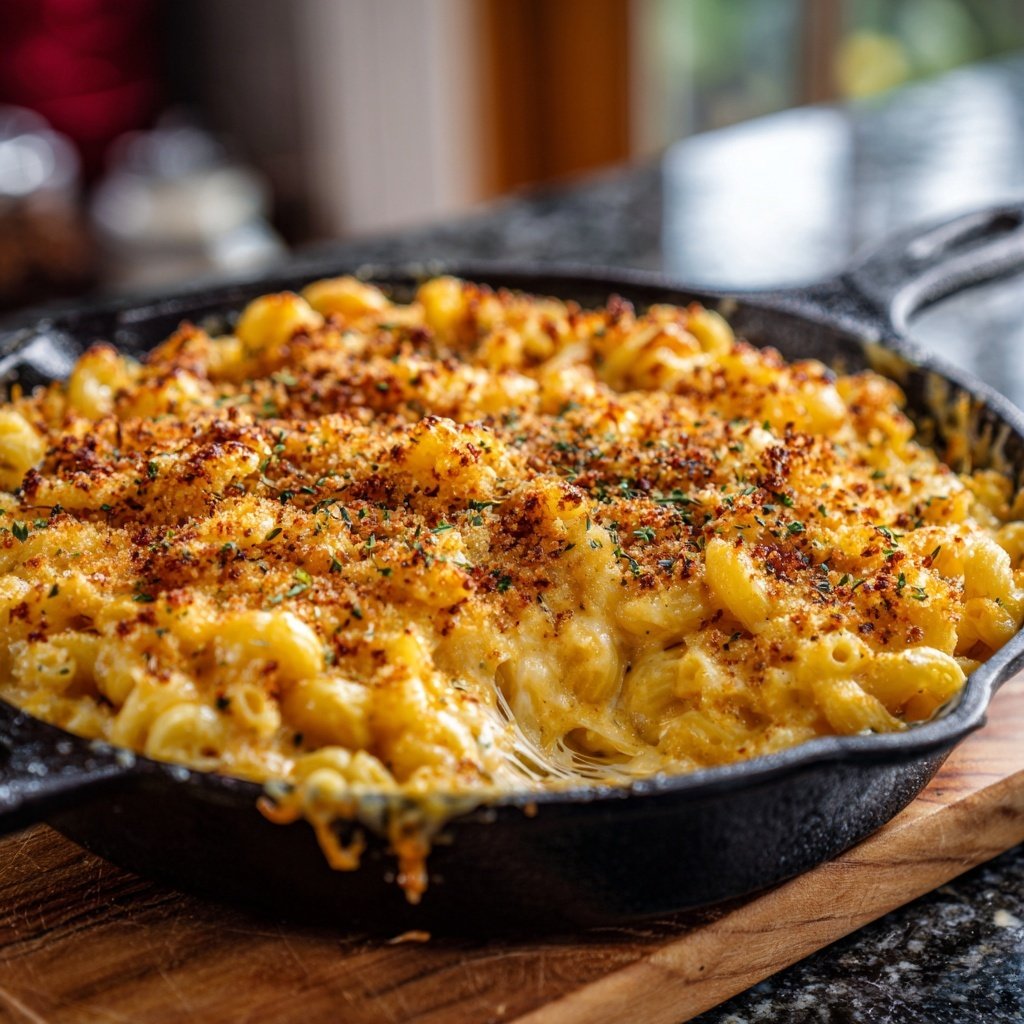
Comfort Creamy Mac & Cheese
Highlighted under: Simple Comfort Recipes
I absolutely love indulging in a bowl of Comfort Creamy Mac & Cheese on cozy evenings. This dish is a delightful blend of creamy cheeses and al dente pasta that feels like a warm hug in every bite. Making it from scratch allows me to customize the flavors to my liking, adding in extra spices or herbs when I feel adventurous. Plus, it’s a fantastic option for feeding a crowd or just myself on a lazy Sunday. Let me guide you through the simple steps to creating this comforting classic!
Once, while experimenting with different cheese combinations, I stumbled upon the perfect balance of sharp and creamy flavors. It became a revelation for me—combining cheddar with a touch of Gruyère truly elevates the dish! I learned that using a roux as the base for the cheese sauce creates an irresistibly smooth texture that clings to every piece of pasta.
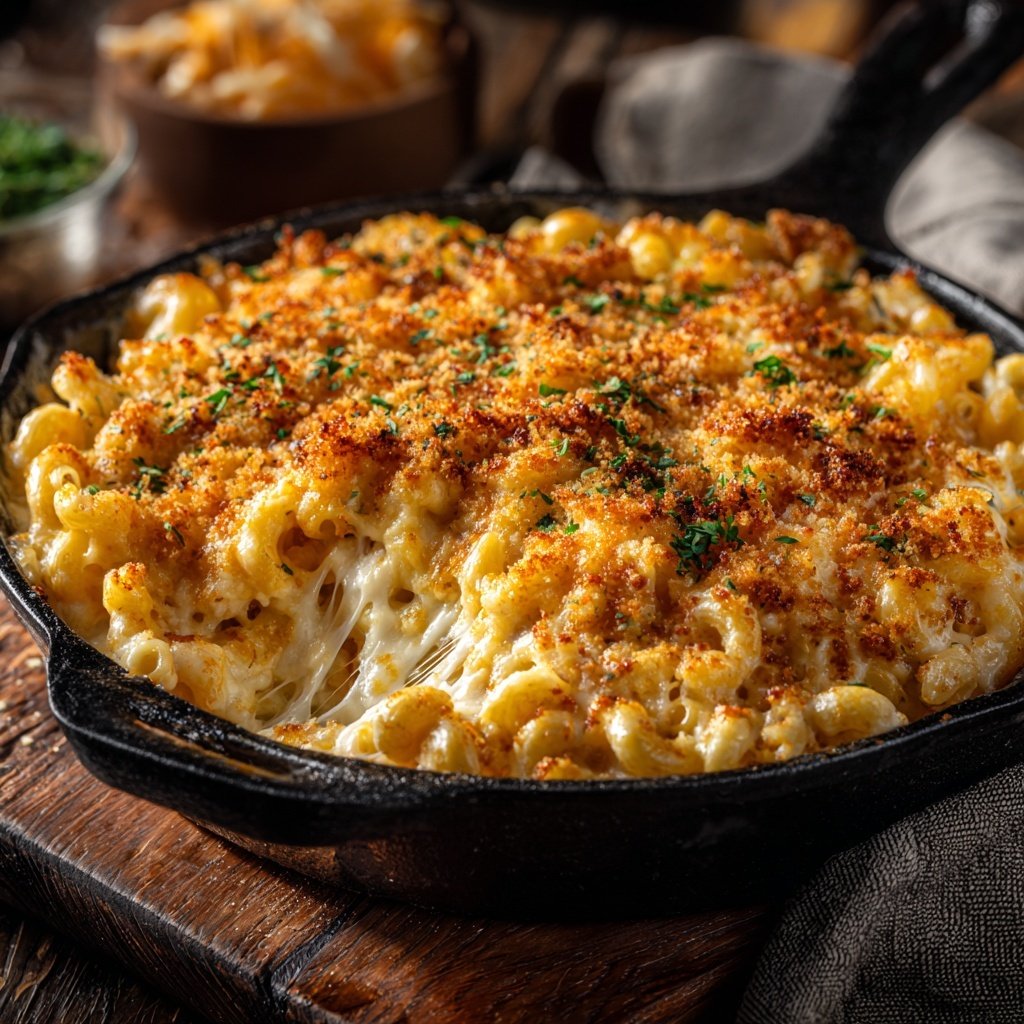
What I find essential is the quality of the cheese. Grating fresh cheese rather than using pre-shredded makes a significant difference in melting and flavor. Additionally, topping the mac with breadcrumbs and broiling for a few minutes creates a delightful crunch that pairs beautifully with the creaminess beneath.
Why You'll Love This Recipe
- Rich, creamy texture that satisfies every craving
- Customizable with your favorite cheeses and add-ins
- Ideal for family dinners or potluck gatherings
Perfecting the Cheese Sauce
Achieving the right consistency in your cheese sauce is crucial for the best Mac & Cheese. You want it to be thick enough to cling to the pasta but not so thick that it becomes gluey. To do this, cook the flour and butter mixture for a minute to create a roux; this helps prevent a grainy texture. When adding the milk, ensure it's gradually introduced while whisking continuously, which helps create a smooth, glossy sauce without lumps.
The choice of cheese is fundamental in developing the dish's flavor and texture. Sharp cheddar provides a robust taste, while Gruyère adds a nutty undertone. If you're looking to alter the flavor profile, consider substituting some of the cheeses with Monterey Jack for a milder flavor or adding a bit of blue cheese for a punch. Always grate your cheese instead of using pre-shredded varieties, as they often contain anti-caking agents that can affect melting.
Baking to Perfection
Broiling the Mac & Cheese at the end not only creates a crispy topping but provides a delightful textural contrast to the creamy pasta beneath. When broiling, keep a close eye on it, as it can go from golden to burned in a matter of seconds. Aim for a bubbling, slightly charred top, which enhances the overall flavor. Adjust your oven rack to the top position for optimal browning, positioning it about 5-6 inches from the heat source.
If you prefer a more complex breadcrumb topping, consider mixing in grated Parmesan or herbs like thyme or oregano. Additionally, if you like a touch of heat, a pinch of cayenne or a drizzle of hot sauce in the cheese sauce can elevate the dish significantly. Just be sure to taste and adjust accordingly to maintain balance without overpowering the cheesy goodness.
Ingredients
For the Mac & Cheese
- 8 ounces elbow macaroni
- 2 tablespoons unsalted butter
- 2 tablespoons all-purpose flour
- 2 cups milk
- 1 teaspoon Dijon mustard
- 1/2 teaspoon garlic powder
- 1/2 teaspoon onion powder
- 1 cup sharp cheddar cheese, grated
- 1 cup Gruyère cheese, grated
- Salt and pepper to taste
- 1/2 cup breadcrumbs
Instructions
Cook the Pasta
In a large pot of boiling salted water, cook the elbow macaroni according to package instructions until al dente. Drain and set aside.
Make the Cheese Sauce
In the same pot, melt the butter over medium heat. Whisk in the flour and cook for about 1 minute. Gradually whisk in the milk and cook until the sauce thickens, about 5 minutes. Stir in the Dijon mustard, garlic powder, onion powder, and season with salt and pepper.
Add the Cheese
Remove the pot from heat and gradually stir in the grated cheddar and Gruyère cheese until melted and smooth.
Combine and Bake
Add the cooked pasta to the cheese sauce and stir until evenly coated. Transfer to a greased baking dish, sprinkle breadcrumbs on top, and broil for 3-5 minutes until the top is golden and crispy.
Pro Tips
- For an extra kick, consider adding cooked bacon or sautéed vegetables into the mixture before baking!
Making It Ahead
If you're planning a gathering, this Mac & Cheese can be prepped in advance. After combining the pasta with the cheese sauce, transfer it to the baking dish and cover it with plastic wrap or foil. It can be refrigerated for up to 24 hours before baking. Just remember to let it sit at room temperature for about 20 minutes before putting it in the oven, as this helps it cook evenly.
For longer storage, this dish freezes well too! Assemble and cool it completely before covering tightly with foil and storing in the freezer. It can last for up to 2 months. To reheat, bake directly from frozen at 375°F (190°C) for about 45-60 minutes. Add a splash of milk to the dish before reheating to maintain creaminess.
Serving Suggestions
Comfort Creamy Mac & Cheese pairs wonderfully with various sides. A simple arugula salad with a lemon vinaigrette cuts through the richness of the dish, making for a balanced meal. Alternatively, consider serving it alongside grilled meats or roasted vegetables for a more complete dinner experience.
For a fun twist, try adding cooked crispy bacon or caramelized onions to the Mac & Cheese before baking. These add-ins create an interesting depth of flavor and texture. If you're looking to impress, create a gourmet version by incorporating truffle oil drizzled on top before broiling for an elegant touch that's sure to wow your guests.
Questions About Recipes
→ Can I use gluten-free pasta?
Absolutely! Just ensure to adjust the cooking time as needed for the gluten-free variety.
→ How can I store leftovers?
You can store leftovers in an airtight container in the fridge for up to 3 days. Reheat in the oven for best results.
→ Can I freeze mac and cheese?
Yes! To freeze, let it cool completely and transfer to a freezer-safe container for up to 2 months. Thaw overnight in the fridge before reheating.
→ What cheeses work best?
Feel free to experiment! Other great options include mozzarella, fontina, or even blue cheese for a different flavor profile.
Comfort Creamy Mac & Cheese
Created by: The Feliciabakes Team
Recipe Type: Simple Comfort Recipes
Skill Level: Beginner
Final Quantity: 4 servings
What You'll Need
For the Mac & Cheese
- 8 ounces elbow macaroni
- 2 tablespoons unsalted butter
- 2 tablespoons all-purpose flour
- 2 cups milk
- 1 teaspoon Dijon mustard
- 1/2 teaspoon garlic powder
- 1/2 teaspoon onion powder
- 1 cup sharp cheddar cheese, grated
- 1 cup Gruyère cheese, grated
- Salt and pepper to taste
- 1/2 cup breadcrumbs
How-To Steps
In a large pot of boiling salted water, cook the elbow macaroni according to package instructions until al dente. Drain and set aside.
In the same pot, melt the butter over medium heat. Whisk in the flour and cook for about 1 minute. Gradually whisk in the milk and cook until the sauce thickens, about 5 minutes. Stir in the Dijon mustard, garlic powder, onion powder, and season with salt and pepper.
Remove the pot from heat and gradually stir in the grated cheddar and Gruyère cheese until melted and smooth.
Add the cooked pasta to the cheese sauce and stir until evenly coated. Transfer to a greased baking dish, sprinkle breadcrumbs on top, and broil for 3-5 minutes until the top is golden and crispy.
Extra Tips
- For an extra kick, consider adding cooked bacon or sautéed vegetables into the mixture before baking!
Nutritional Breakdown (Per Serving)
- Calories: 380 kcal
- Total Fat: 26g
- Saturated Fat: 15g
- Cholesterol: 195mg
- Sodium: 85mg
- Total Carbohydrates: 32g
- Dietary Fiber: 3g
- Sugars: 4g
- Protein: 6g