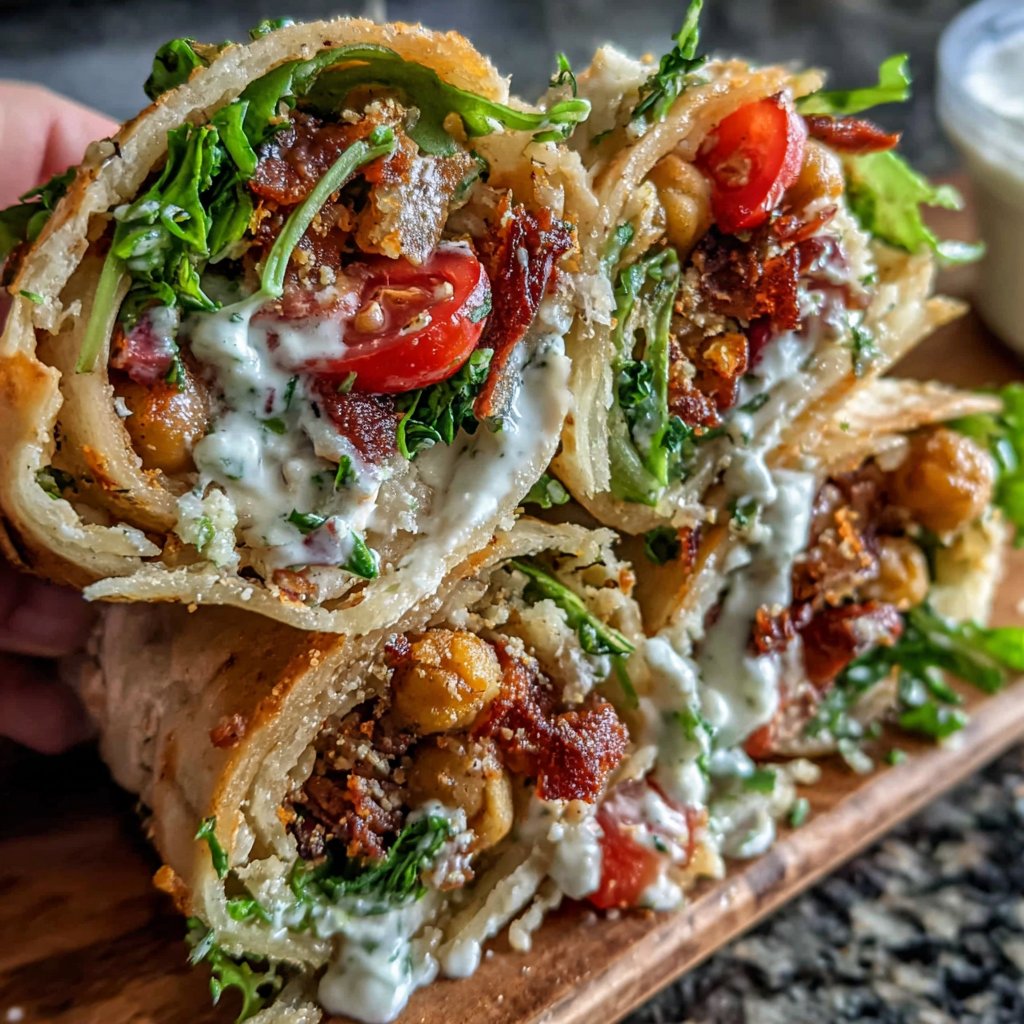
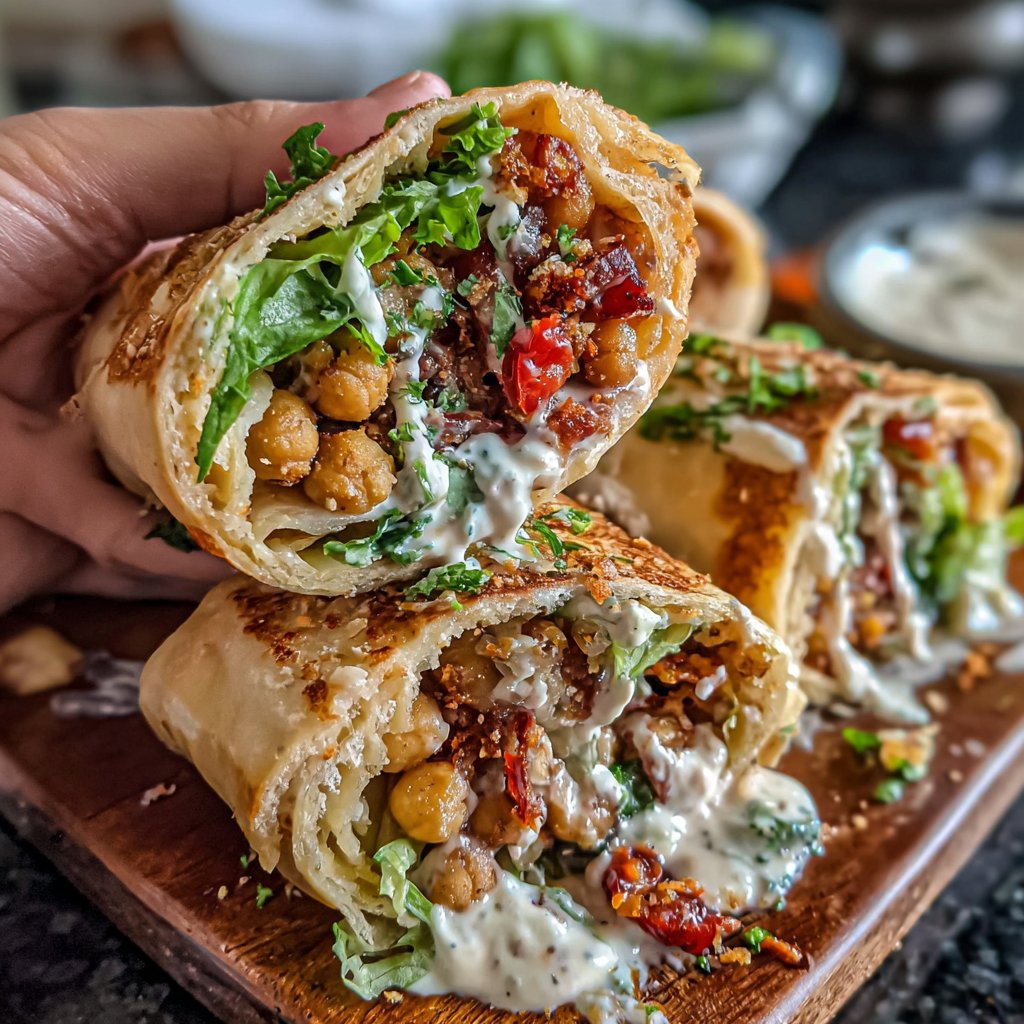
Crispy Chickpea Lunch Wraps
Highlighted under: Vegan Baking Recipes
I absolutely love making crispy chickpea lunch wraps for a quick and healthy meal. These wraps are not only delicious but also incredibly satisfying with the crunch of chickpeas and the freshness of vegetables. The combination of spices gives it a vibrant flavor that brightens up any lunchtime. Plus, preparing them is super easy, making it the perfect go-to recipe for busy days when I crave something flavorful and nutritious.
When I first experimented with chickpeas for lunch, I was surprised at just how versatile they could be. I decided to turn simple roasted chickpeas into a crispy filling for wraps, and it turned out to be a great idea! Roasting them with spices not only enhances their flavor but also gives them a satisfying crunch that contrasts beautifully with fresh veggies.
A tip I learned along the way is to let the chickpeas cool slightly after roasting before adding them to the wrap. This keeps everything crisp and prevents the wrap from getting soggy. Trust me, it really makes a difference!
Why You'll Love These Crispy Chickpea Lunch Wraps
- Crispy chickpeas provide a satisfying crunch
- Packed with fresh vegetables for a healthy boost
- Easy to customize with your favorite sauces and ingredients
Choosing the Right Chickpeas
When selecting chickpeas for your wraps, opt for high-quality canned varieties for convenience. Look for cans that are free from BPA and preservatives. The bean's texture is crucial; you want them slightly firm yet tender to achieve that satisfying crunch when roasted. Drain and rinse them thoroughly to remove excess sodium and improve their flavor absorption during cooking.
If you prefer a more hands-on approach, you can also use dried chickpeas. Soak them overnight and cook them until just tender. This method allows you to control the texture better but requires a bit more planning ahead. Once they're cooked, follow the same roasting instructions as the canned variety.
The Art of Roasting
Roasting your chickpeas at the right temperature and duration is critical to achieving optimum crispiness. Ensure your oven is preheated to 400°F (200°C) before placing the baking sheet inside. This method will help in creating that golden-brown exterior that is both crispy and flavorful. Keep an eye on them, though—oven performance can vary, and they may be ready in as little as 18 minutes.
To enhance their crunchiness, consider shaking the baking sheet halfway through cooking. This will ensure that all sides of the chickpeas roast evenly. If you find that the chickpeas are still too soft upon completion, you can leave them in the oven for an additional 3–5 minutes while keeping a close watch to avoid burning.
Ingredients
Gather all the ingredients to make the preparation process smooth.
Ingredients for Chickpea Wraps
- 1 can (15 oz) chickpeas, drained and rinsed
- 1 tablespoon olive oil
- 1 teaspoon cumin
- 1 teaspoon paprika
- 1/2 teaspoon garlic powder
- Salt and pepper to taste
- 2 large whole grain wraps
- 1 cup fresh spinach or mixed greens
- 1/2 cucumber, sliced
- 1/2 red bell pepper, sliced
- 1/4 red onion, thinly sliced
- Hummus or your favorite sauce, for spreading
Now that you have all the ingredients, it’s time to start cooking!
Instructions
Let’s get started with the cooking process!
Roast the Chickpeas
Preheat your oven to 400°F (200°C). Spread the drained chickpeas on a baking sheet and drizzle with olive oil. Sprinkle the cumin, paprika, garlic powder, salt, and pepper over the chickpeas and toss to coat evenly. Roast in the oven for 20 minutes, or until the chickpeas are golden brown and crispy.
Prepare the Wraps
While the chickpeas roast, prepare your wraps. Spread a generous layer of hummus or your favorite sauce on each wrap, then layer the fresh spinach, cucumber, red bell pepper, and red onion.
Assemble the Wraps
Once the chickpeas are done, remove them from the oven and let them cool for a few minutes. Then, add the crispy chickpeas to the prepared wraps. Roll up the wraps tightly, slice in half if desired, and serve immediately.
Your crispy chickpea lunch wraps are ready to enjoy!
Pro Tips
- Feel free to experiment with different vegetables and sauces based on your preferences. Adding a dash of hot sauce can also spice things up!
Serving Suggestions
These wraps can easily be a complete meal on their own, but if you want to elevate them further, consider adding sliced avocado or crumbled feta for a rich, creamy texture. You can also serve them alongside a zesty side salad, drizzled with a light vinaigrette to enhance the overall freshness. I sometimes enjoy pairing them with a yogurt-based dip for an added layer of flavor.
For a protein boost, you can add grilled chicken or tofu to the wraps. Simply grill the chicken and let it cool before slicing and adding to the wraps. This not only amplifies the nutritional value but also offers a delightful contrast of flavors with the chickpeas.
Make-Ahead and Storage
These wraps are fantastic for meal prep! You can roast the chickpeas in advance and store them in an airtight container for up to three days. Just make sure to keep them separate from the prepared wraps to maintain their crispiness. Reheat the chickpeas in the oven for a few minutes at 350°F (175°C) for a quick crunchy fix before assembling your lunch.
If you’ve made extra wraps, it’s best to store them without the chickpeas. Place them in the refrigerator with parchment paper between layers to prevent sogginess. When you’re ready to eat, simply fill them with freshly roasted chickpeas. I find this method keeps everything fresh and delicious.
Questions About Recipes
→ Can I use dried chickpeas instead of canned?
Yes, just be sure to cook and season them properly after soaking.
→ What can I substitute for wraps?
You can use lettuce leaves or gluten-free wraps if preferred.
→ How do I store leftover wraps?
It's best to store the ingredients separately and assemble the wraps just before eating.
→ Can I make these wraps vegan?
Absolutely! Use vegan hummus or any dairy-free sauce to keep it vegan-friendly.
Crispy Chickpea Lunch Wraps
Created by: The Feliciabakes Team
Recipe Type: Vegan Baking Recipes
Skill Level: Easy
Final Quantity: 2 wraps
What You'll Need
Ingredients for Chickpea Wraps
- 1 can (15 oz) chickpeas, drained and rinsed
- 1 tablespoon olive oil
- 1 teaspoon cumin
- 1 teaspoon paprika
- 1/2 teaspoon garlic powder
- Salt and pepper to taste
- 2 large whole grain wraps
- 1 cup fresh spinach or mixed greens
- 1/2 cucumber, sliced
- 1/2 red bell pepper, sliced
- 1/4 red onion, thinly sliced
- Hummus or your favorite sauce, for spreading
How-To Steps
Preheat your oven to 400°F (200°C). Spread the drained chickpeas on a baking sheet and drizzle with olive oil. Sprinkle the cumin, paprika, garlic powder, salt, and pepper over the chickpeas and toss to coat evenly. Roast in the oven for 20 minutes, or until the chickpeas are golden brown and crispy.
While the chickpeas roast, prepare your wraps. Spread a generous layer of hummus or your favorite sauce on each wrap, then layer the fresh spinach, cucumber, red bell pepper, and red onion.
Once the chickpeas are done, remove them from the oven and let them cool for a few minutes. Then, add the crispy chickpeas to the prepared wraps. Roll up the wraps tightly, slice in half if desired, and serve immediately.
Extra Tips
- Feel free to experiment with different vegetables and sauces based on your preferences. Adding a dash of hot sauce can also spice things up!
Nutritional Breakdown (Per Serving)
- Calories: 450 kcal
- Total Fat: 18g
- Saturated Fat: 2g
- Cholesterol: 0mg
- Sodium: 370mg
- Total Carbohydrates: 65g
- Dietary Fiber: 12g
- Sugars: 5g
- Protein: 15g